Spring Break is just around the corner, which means most homeowners will have some extra time to start a new paint project. But before you begin painting here are some important prepping steps to consider.
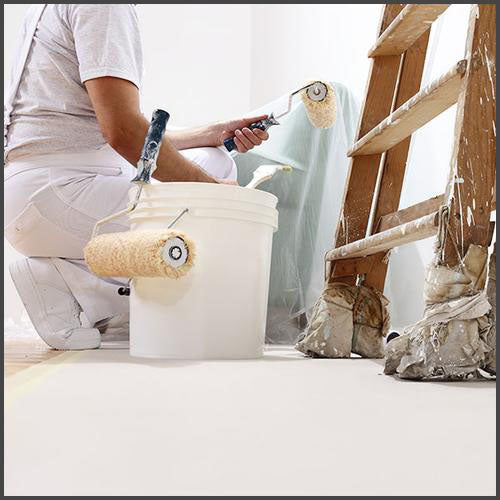
Basically prepping a room is all about two things. First, it's about protecting. Protecting your floors, furniture, and anything you don't want to get paint on. Secondly, preparing. Preparing your trim and walls. You want your walls to be as prestein as possible so when you apply paint it goes on perfectly.
So, let's begin!
1.
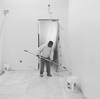
Clear the room. Clear ALL furniture out of the room and take accessories/decor off the walls. Remove all outlet covers. Whatever you can't take out of the room, move to the center of the room and make sure to protect it with a
plastic drop cloth.
2. Protect the floors.Cover your floor with a canvas or plastic drop cloth. Use painters tape to connect the plastic sheeting to the base boards. If you are using canvas drop cloths you can put directly on top of plastic sheeting for extra protection.
3. Surface prep.Inspect walls for holes, dirt, oil etc. Clean walls with 3 cups of water and 2 tablespoons of mild detergent. You don't want to gloss over dirty walls because the paint won't stick properly. You want to get rid of any loose dirt on walls before painting.
4.
Repairing wall imperfections.For small nail holes use a 4' putty knife and 3M Patch Plus Primer. Dries in 30 minutes, easy to work with and hides imperfections. Press the putty into hole and use your putty to scrape off excess putty. Once the putty is dry you can sand over with a
220 grit sandpaper. The goal is to get smooth walls. Lastly, clean walls with dry rag to get off any dust the walls may have gotten while sanding.
5. Tape off trim and ceiling. Use 2' blue painters tape along the baseboards, windows, doors and ceiling.
6. Ready to paint!Now that we've cleared everything from the room and prepped the walls our room is ready for paint.
Make sure to take pictures of the finished room and tag us on social media!